Design your own wrought ironwork.
Designing your own wrought iron style Gate, Railing or Juliet balcony is easier than you think. Following the information in this section of the website will make that task much easier. Allowing you to come up with you own individual gate, railing or Juliet balcony. It is perhaps not as difficult as you think, and can allow you to have a truly personal design.
Now i am trying teach 30 plus years of experience in a few web pages, its quite tall task so this is very much a work in progress. Hopefully over time it will become more refined and easier to understand. I will try to add videos over time as this is a great medium to explain things easier. This is the result of 100s of hours work, designing and drawing along with countless hours spent researching. So if you find something that just doesn’t make sense or isn’t very clear, drop me an email and let me know. I will try to refine it, making it clearer.
This is a list of connected pages in the “design your own” series.
In order to get the best experience from this section it is best to read in the following order.
you are currently here.
The Aim of these pages.
The aim here is very simple, by teaching design this allows you to design your own. In doing so we are sharing some of the work load. This means I don’t have to factor into the price, time required for design work. As you are doing the design work with the help of this website. This means i can offer the railings at a cheaper price than would otherwise be possible.
Gates, Railings and Juliet balconies
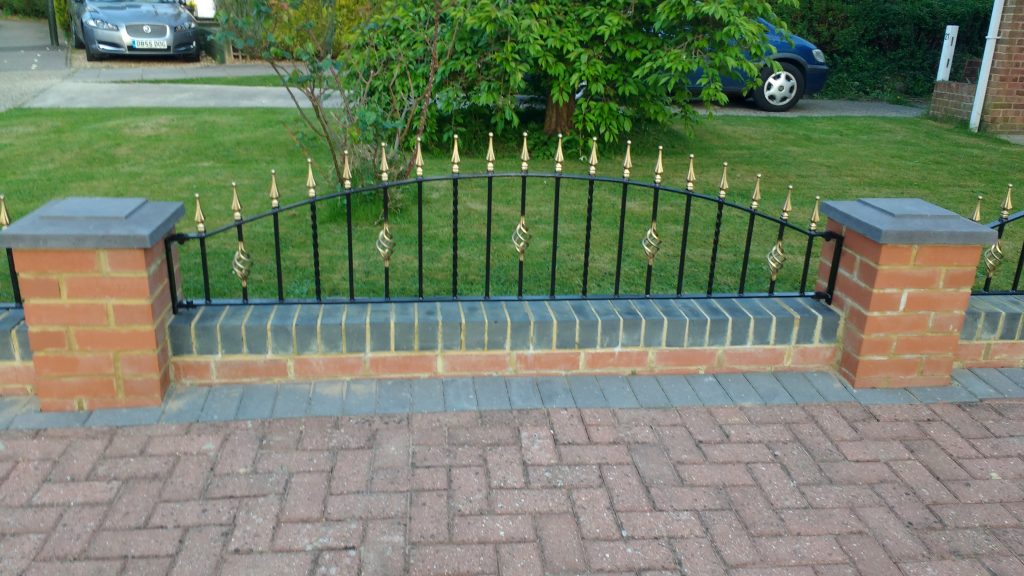
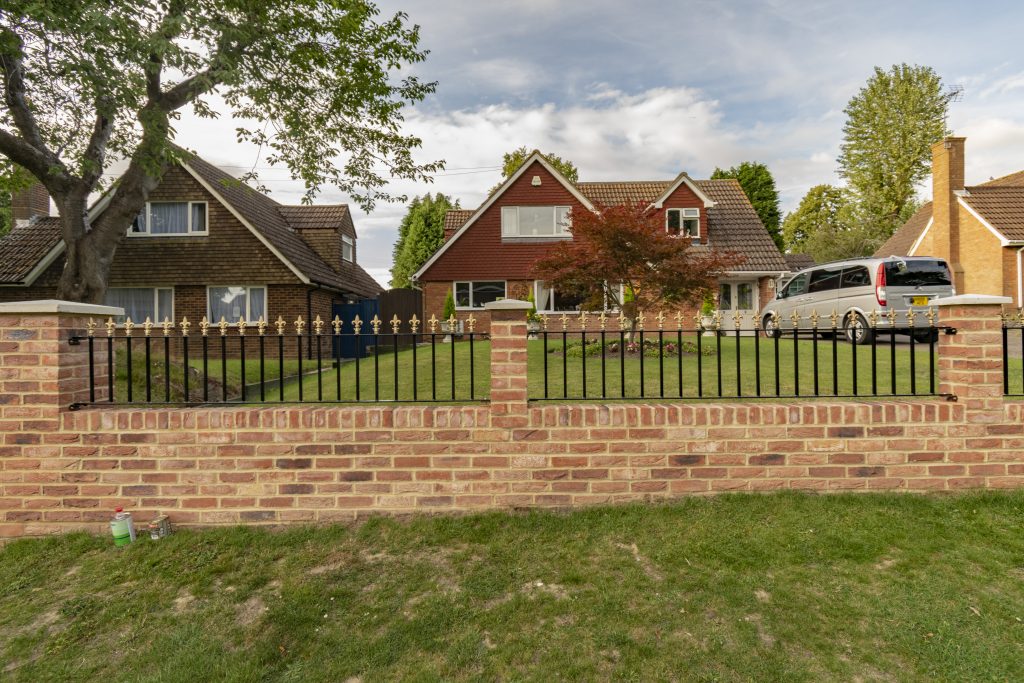
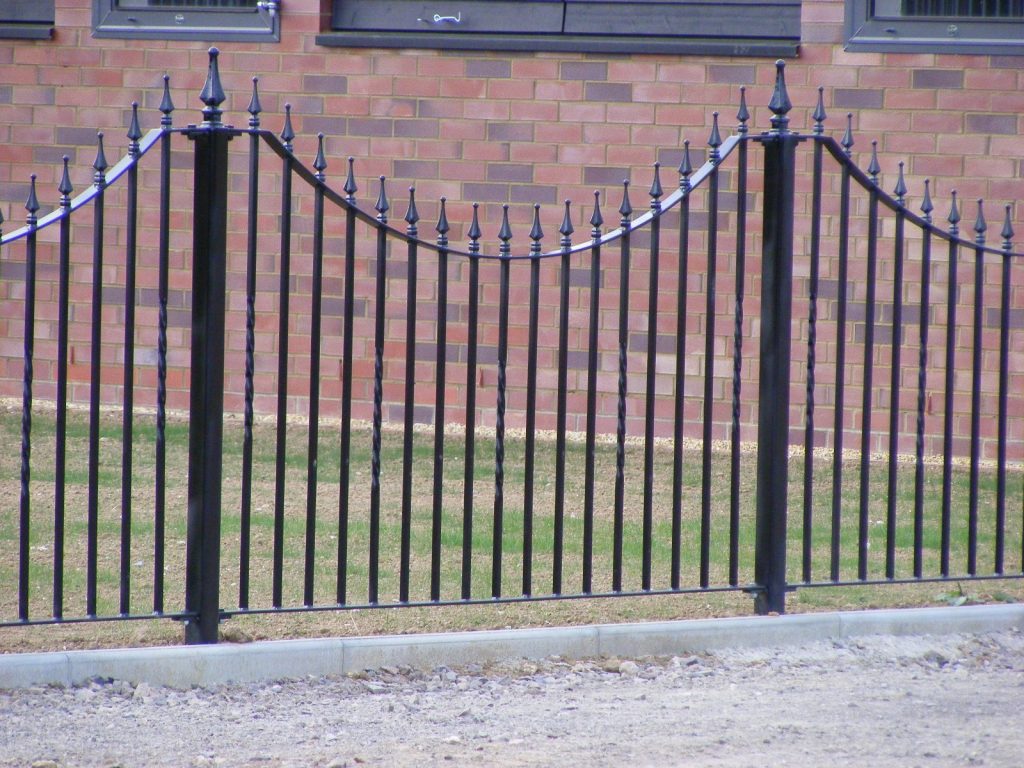
Most wrought iron work is kind of the same. It contains upright bars or spindles. A Juliet balcony or patio railing really are the same thing in terms of design. But they only differ from a garden wall railing by being shorter and not having a decorative top, like railing heads. And gates only differ because they are a fully enclosed frame, having a hanging and closing stile. So they have a lot in common but there are some subtle differences. The difference is usually the frame. The differences are enough to earn each its own specific page. But for now, lets stick to the basics of design
As something get longer, or wider in the case of a gate, it will contain more upright bars. More upright bars give more opportunity to create designs as it is those upright bars we turn from being a plain round or square bar into a decorative bar. The taller those upright bars are the more decoration can be placed on or in them. As all decorations occupy a given amount of those upright bars or vertical space available.
But let us start with the pre made parts that can be used to create a decorative bar or design. understanding what is available and how they can be used, really is the next step on your way to designing your own
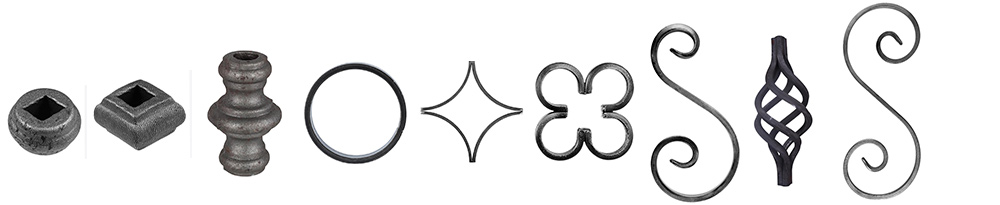
Parts
A lot of the design work is based on using parts or components to help create decorative bars. Some parts are designed to be fitted into the upright bar, effectively become part of the bar. Cut out a section of the bar and welded in. So that they interrupt what would be an otherwise plain bar. Other parts are design to fit in to the gap between upright bars. Some parts can perform both tasks.
Its the placing of these parts within or on a bar this gives you a bar design. It is then the placing of those decorative bars within the wrought iron panel that gives you the design. By doing that you can create you own individual personal design.
By knowing the cost of the replacement decorative bar, it then becomes very easy to work out the price of your decorative wrought iron design.
Just to explain many of these parts that fit into the gap between bars, are 100mm wide. So all upright bars need to be spaced at 100mm gaps for this to work. It is effective because it gives access to a lot of cheap mass produced parts. Impossible to make by hand at the price these can be bought for. So it becomes a cost effective way to add detail, whilst keeping the cost down. But this does mean all upright bars must be spaced 100mm apart.
I am not here to hide anything all these parts are bought from a company called FHBrundle .I have included that as a link, so that you can see for yourself.
These are mass produced parts,. Their disadvantage is they come in limited sizes. Their advantage is price, it would be impossible to make the parts for the price you can buy them for.
Just to say there are other companies out there that do similar things. This is just the one i use most for parts. (if you are using this info page thinking on making your own, they also sell steel)
This is a list of common used pre-made parts, the majority are design to fit a 100mm gap. Some are designed to fit as part of a bar. Don’t worry i have a lot of examples how to best use the parts
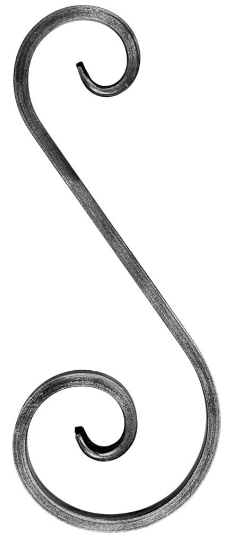
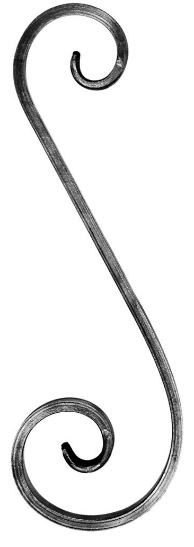
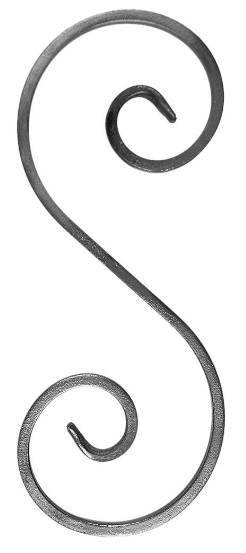
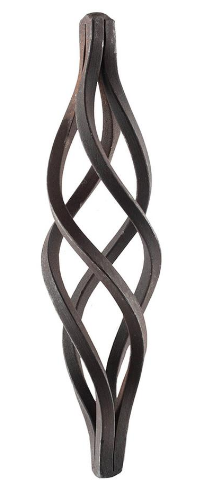
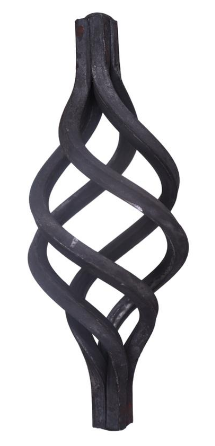
Scrolls
Just for reference I refer to the larger part of the scroll as the head and the smaller part as the tail.
Three S scrolls with large head and smaller tail. Two double headed scrolls.

Made from 12mm x 6mm flat.
200mm high x 100mm wide
Made from 12mm x 6mm flat.
250mm high x 100mm wide
Made from 12mm x 6mm flat.
300mm high x 100mm wide
made from 12mm x 6mm flat
300mm tall x 100mm wide
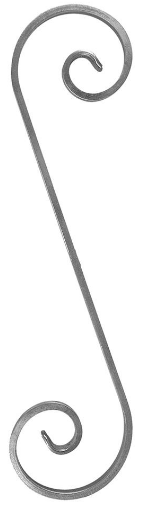
made from 12mm x 6mm flat
400mm tall x 100mm wide
Notice the scrolls are all 100mm wide, so fit in a gap of 100mm. But more important they have a height. Whilst i am stating the obvious here. The scroll at 300mm tall wont fit into a height gap of less that 300mm. It could be used on a 400mm tall bar. leaving 50mm of bar clear at the top and bottom. But you have the option as the bar is longer than the scroll of “sliding” it up or down the bar and welding where you want.
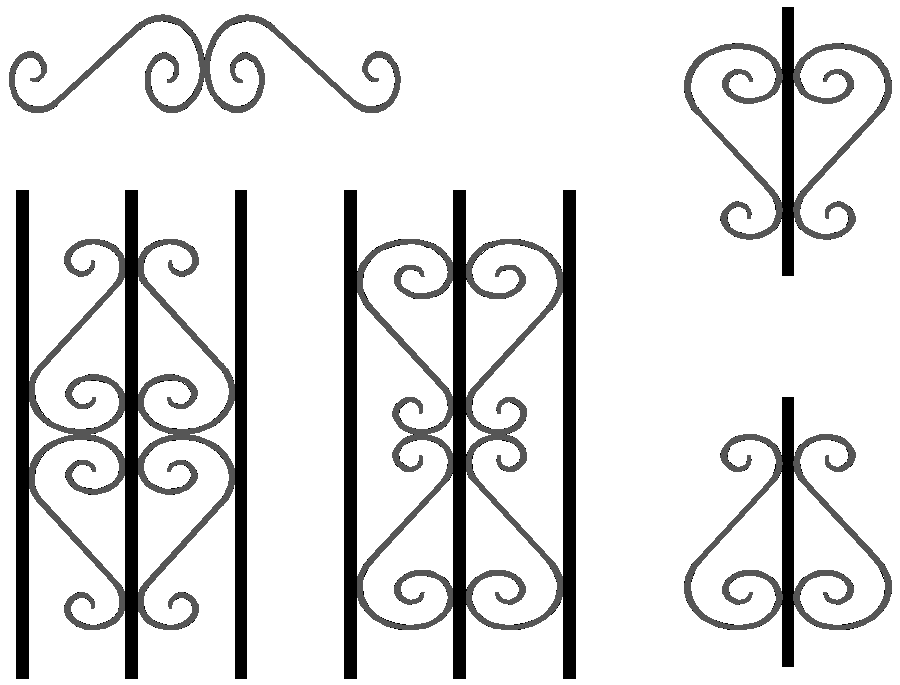
Examples of S scroll use.
Top decoration for gate or railing.
Simple and cheaper alternative to railing heads.
Welded in the gap between 2 bars, either as a pair or single set.
Relatively cheap to buy, usually quick to weld in place.
Some examples of how scrolls can be used as shown in drawing.
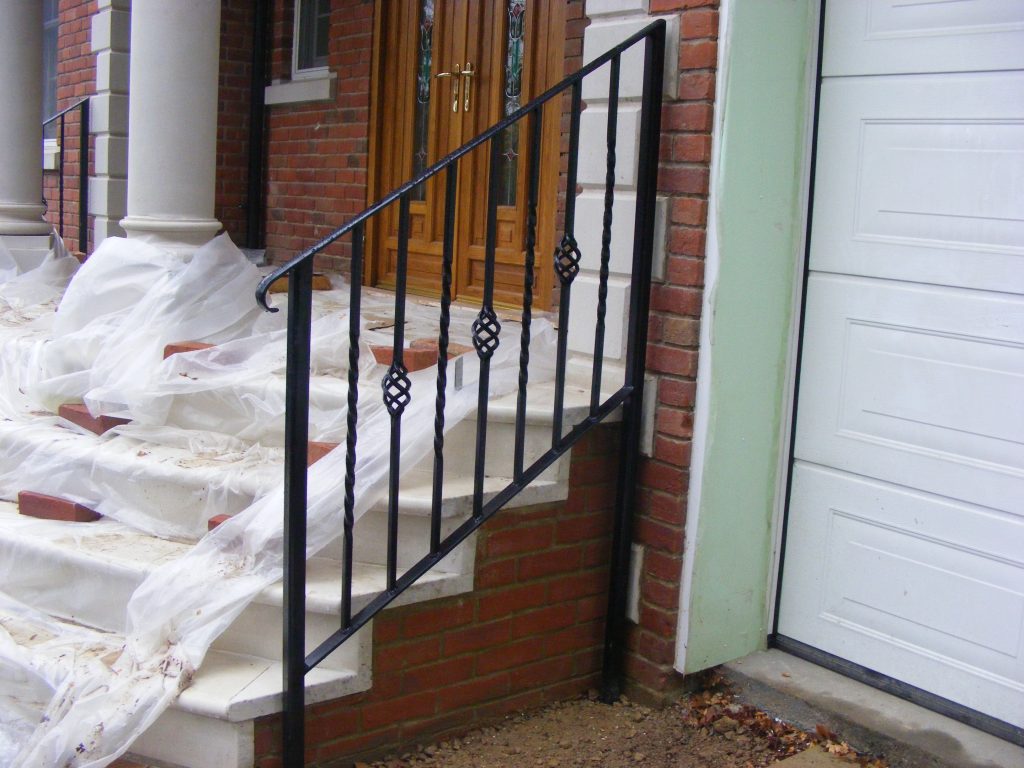
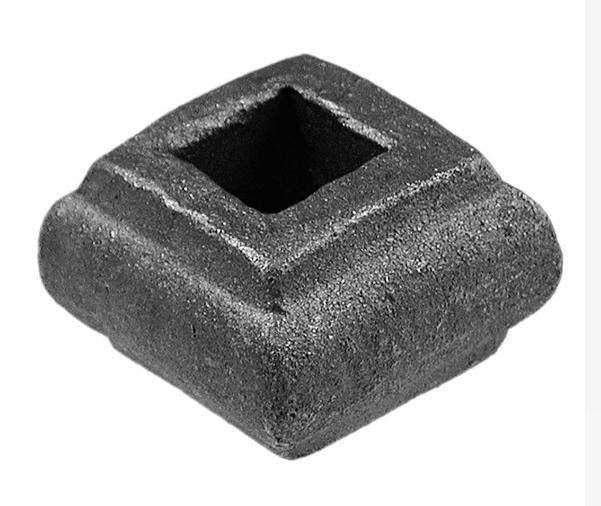
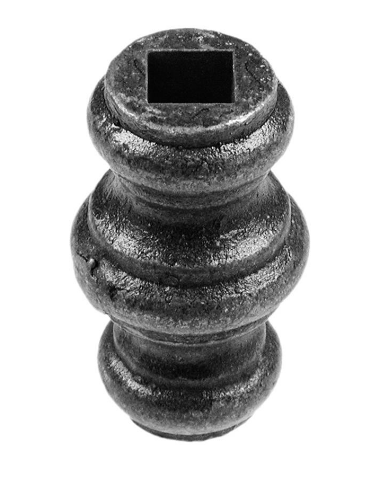
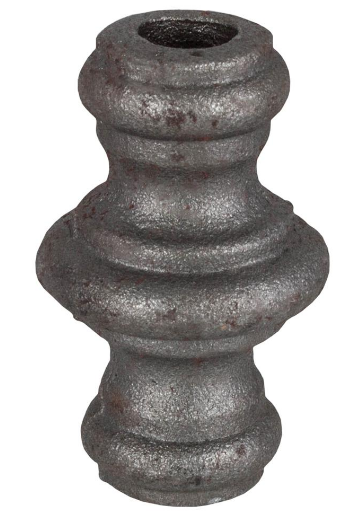
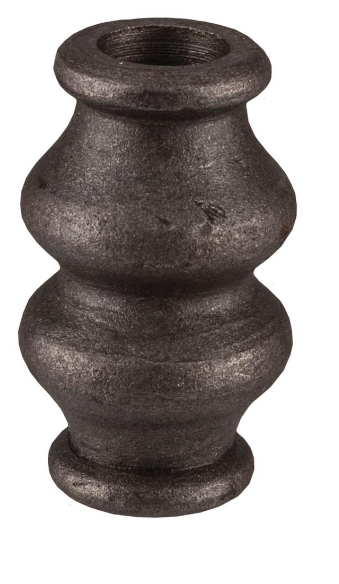
Collars and baskets
These are designed to be position on an individual bar, adding detail to an otherwise plain bar. They can be positioned almost any where on a bar and multiple units can be used on one bar.
Collars
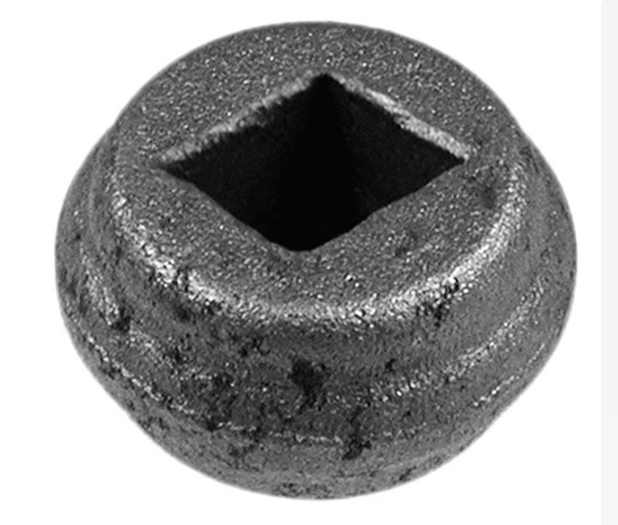
Designed for passing over 12mm square bar and welding in position, Hence why the square hole, these differ slightly for those designed for round bar.
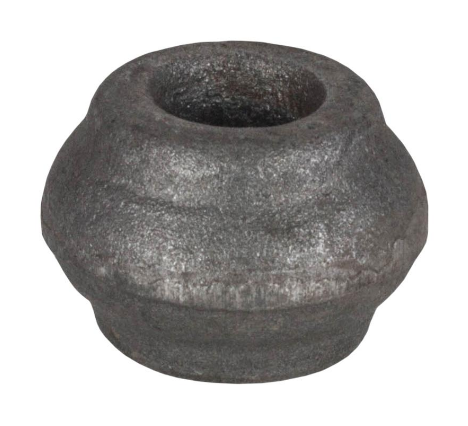
Designed for passing over 12mm round bar.
Baskets
These are suitable for square bar only. welded into a bar, can be welded almost any position in a bar and multiple units can be welded into the same bar.
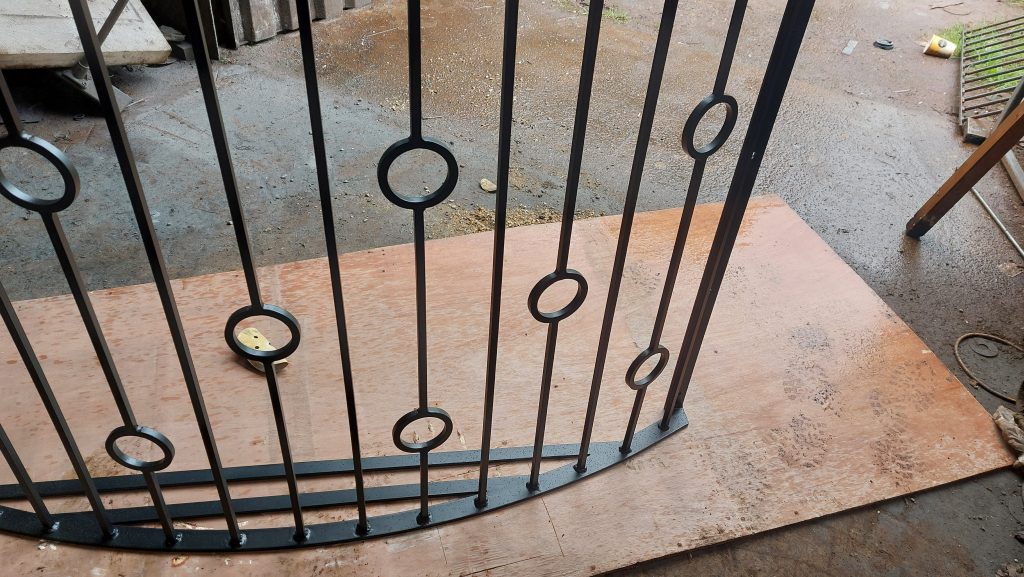
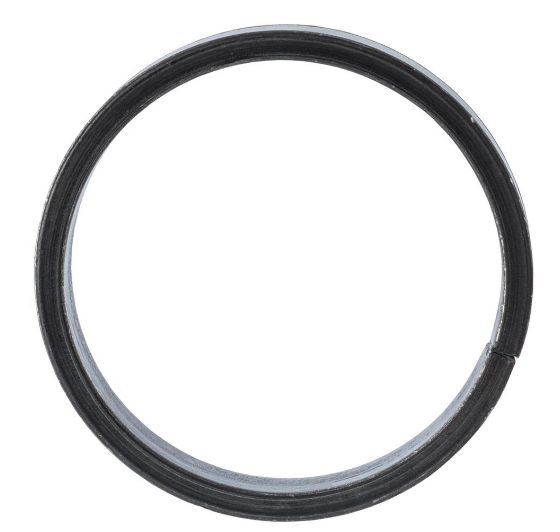
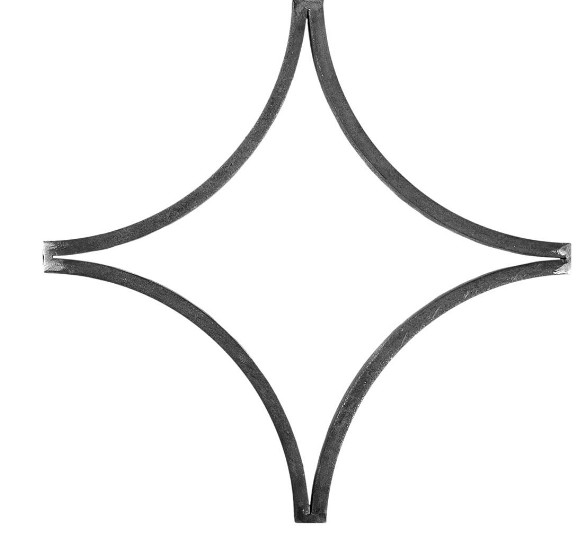
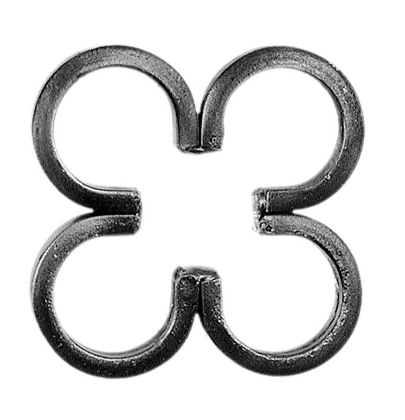
Rings and infill
Rings and infill are designed to fit between 2 upright bars, the most common being the plain circle, but there are other options beyond the plain circle.
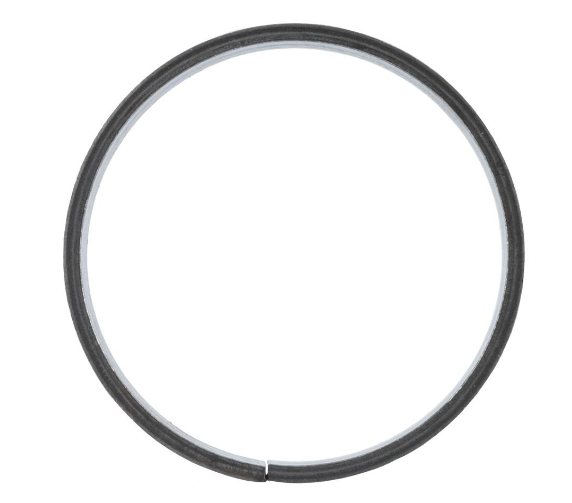
Circle from 12mm x 6mm flat. Sizes available 80mm, 90mm, 100mm, 120mm, 130mm and 150mm
Circle from 12mm square. Sizes available 80mm, 90mm, 100mm, 110mm, 120mm, 130mm and 150mm

100mm circle with scroll tall effect.
100mm x 100mm
from 12mm x 6mm flat
100mm x 100mm
from 12mm x 6mm flat
Although designed to fill gaps, some of these parts can be used as an interrupt in a bar, in a similar way a basket is used. This can make for some interesting designs. The over and under 100mm circles, can be used a bar interrupts to make an interesting design. It is possible to make a design using different size circles on different bars.
Whilst is easy to price an item, it is a little more difficult to price it welded within a gate or railing. A circle welded to bring the gap between 2 bars is quick and relatively easy to do. But a circle welded as an interrupt in a bar is a much slower process. Eventually i am sure we will get a price list for all the options.
There are lots of other parts available but these are perhaps the common ones used.
What now?
This was designed to be a linear progression. I would suggest looking at the bar designs section, this deals with using the parts to create decorative bars. This is an essential core part of any design. After that i would suggest the 100mm gap section.
Now it really is a case of reading onwards but from here we need to be more specific and start looking at what you really want to design. So there are specific pages for each. but there are also reference pages form information where they have something in common.
Information and reference
Videos
When videos become available they will be listed here just for reference purposes, but are likely to be used in web page. Although i might just have a web page copy of those videos .to make them easier for reference.
Notes
Some notes and thoughts. Whilst I only work locally to the Gatwick area. I am aware people will stumble on to this website that are outside the area i serve. For those people you are welcome to use the information contained here to design your own design. Then take it to a local ironworker nearer to you. So just because you are miles away from me, you can still make use out of the information here. It might help save you some money.
For those that have there own welding machine and are looking for ideas, because they want to make there own railings. I have to problem with that either, I may in future include some hints and tips to make your life easier. I have already linked to the wholesalers website, you now know where to buy the parts and the steel from.
In short the information contain here and other pages is for personal usage only. and not for commercial usage. At least not without asking permission via email, and awaiting my consenting reply.