Basics of wrought iron design
The basics of wrought iron design are simple and relevant to almost all gates and railings. You selectively swap plain bars for decorative ones to craft a unique pattern, using the bar designs as your guide. The number of replacements depends entirely on your preference—whether you want a bold, intricate look or a subtle, minimalist style. Naturally, the more plain bars you replace, the higher the cost will be. However, by knowing the individual price of each decorative bar, you maintain full control over your budget.
In an ideal scenario, having a center bar to work from simplifies creating an attractive pattern. However, this isn’t always feasible, as it depends on the size of the gate or railing. When using the more affordable fixed 100mm spacing method, incorporating a center bar may not be possible. Therefore, this guide is divided into two sections: one for designing with a center bar and one for designing without it.
This is a list of connected pages in the “design your own” series.
In order to get the best experience from this section it is best to read in the following order.
you are currently here.
With a centre bar.
As a first example i am going to use a railing designed to fit a 1700mm gap. With the ladder having 400mm space between the horizontal bars. When a centre is present, most designs are based on a mirror image of the left and the right, with the centre bar being where the mirror line is. or point of symmetry. It is usually very easy to work out from the centre.
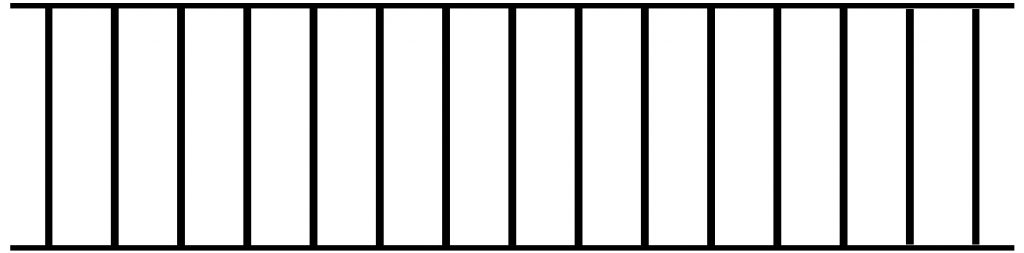
Plain railing with no top decoration, based on the 100mm gap between bars system. With an upright bar count of 15. being an odd number of bars we know there is a centre to work from. Everything usually works outwards from the centre bar. These examples are being kept simple by only using a limited number of parts to create the design.
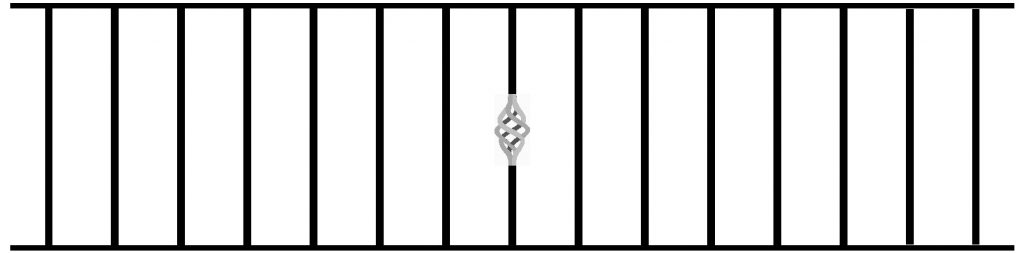
A great place to begin is by adding an element to the middle bar. A single basket could perfectly suit your design needs. Highlighting it in gold would create a striking contrast against the black railing. This subtle and affordable detail enhances an otherwise plain railing without significantly increasing costs. A central centerpiece typically adds minimal expense—sometimes as little as £5 to the total price.
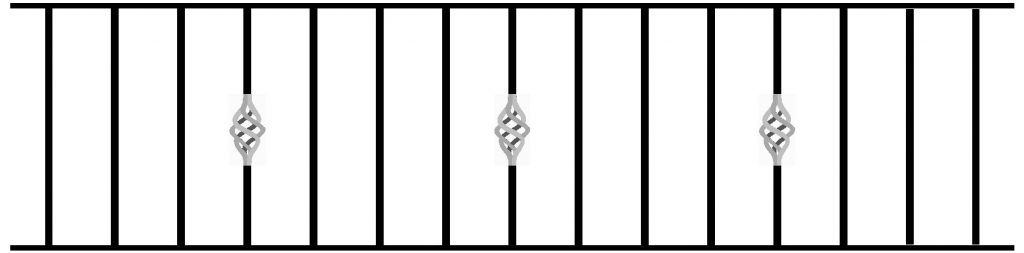
If you prefer more detail, you can count out from the center and add a second decorative element. Since this panel has 15 bars, place the basket on the fourth bar to the right of center and the fourth bar to the left of center. This symmetrical arrangement creates a balanced and visually pleasing design. The result is a railing that looks far more attractive than a plain one. Depending on your choice of bars, this addition could increase the overall price by as little as £15.
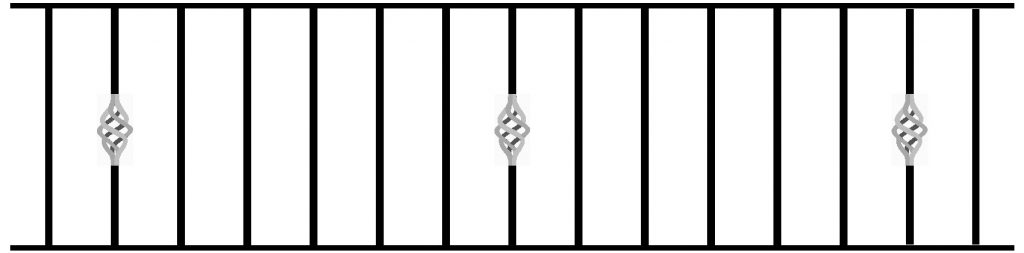
Only three parts are used here, but the outer baskets have been shifted toward the ends of the railing. This adjustment significantly alters the overall appearance. Placement is crucial, as it can transform the look of any design.
Note: if you have multiple railings separated by brick piers, doing the above would likely make the spacings of the cages look equally spaced. with the distance between each cage being very similar even when separated by the brick pier.
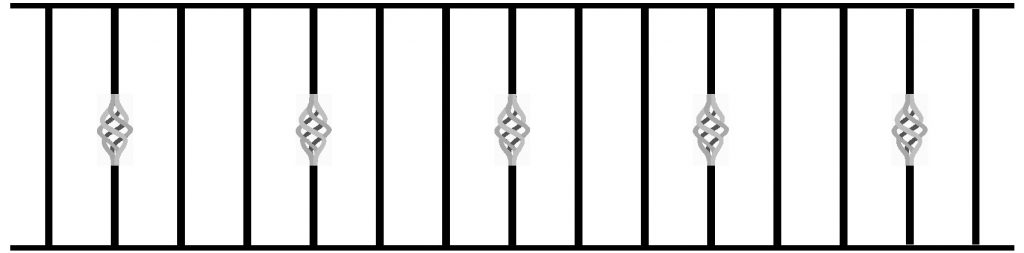
As you add more parts, The ability to position them becomes more limited. This the only option that works if you want them evenly spaced. Every third bar, on a railing this size you don’t have the option to try every fourth bar as the last basket would be “off” the railing.
Of course you could have 7 parts, by making it every other bar, or even 15 decorative bars with detail in every bar
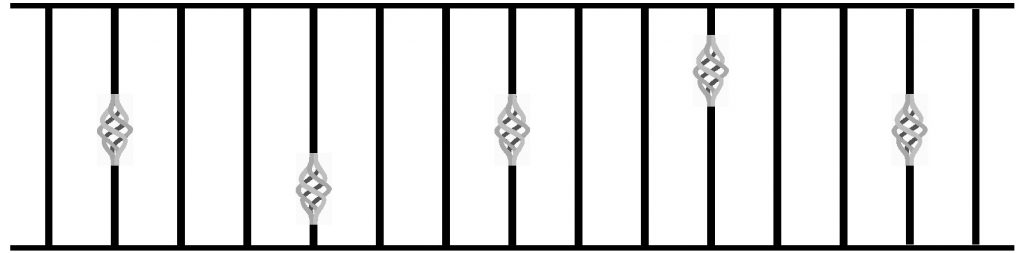
Assuming you have the height, you can “play” with the vertical position of the parts welded into the bar. This adds an extra dimension to the possibilities of design. The placement of the decorative bars is the same as the drawing above. Although this design is not mirror imaged from the centre bar. It still has a nice look to it. You can be as subtle or bold as you like when you “play” with the vertical position. it really is your choice.
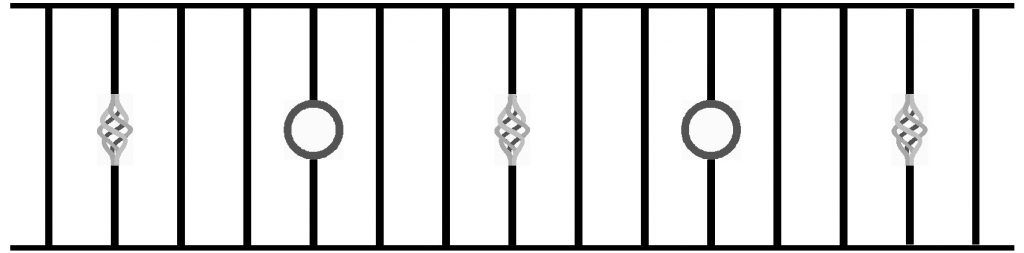
Up to this point, only Baskets have been used. Alternating parts, here baskets and rings changes the design. This is where you can create a lot of design variations, using different parts.
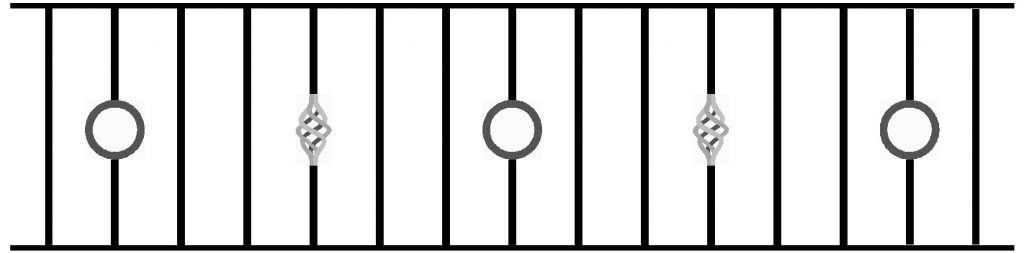
Nothing new here, with the exception that instead of the basket being the centre bar. The circle is now the centre. An alternative universe version of the same railing
There is perhaps no reason why if you had two railings, the same size next to each other. That you can not have them as alternate. One with circle as centre bar and one with cage as centre bar. if it finished with a circle and the next started with a basket, its probably not a crime.
Assuming three panels in a row, again you could “mix n match” choosing one as the centre panel, and use the alternative universe versions as the left and right of centre version. It really is personal choice.
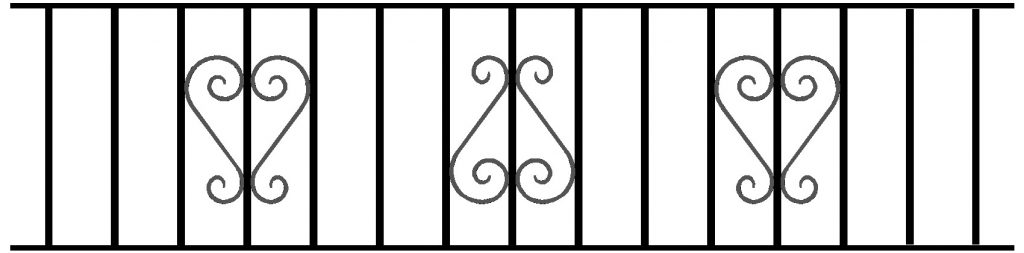
Despite the scrolls being in exactly the same position as the cages. The spacings are perhaps wrong. It works for the cage but not so well for the scrolls. A scroll spans three bars. meaning if positioned the same as the basket you have one plain bar not three. The better position for the outer scrolls might be to move them out one bar from the centre than their current position.
But its also useful to point out as drawn, scrolls can be “flipped” up or down. The correct way up for them is the one you prefer.
Just to point out even though you are using the centre as your “mirror” point, it does not mean you have to have a bar with detail in the centre. A plain bar is fine.
Without a centre bar.
The following examples are 1800mm long, with 16 upright bars. With no centre bar things are a little different. you can no longer work from a centre bar outwards. you can adopt a slightly different style and count in from each end for bar placement
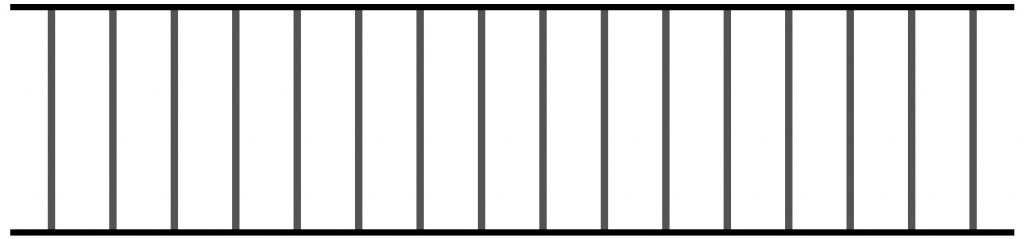
Alternatively you can work outwards, from the centre gap. The plain railing with no detail or designs
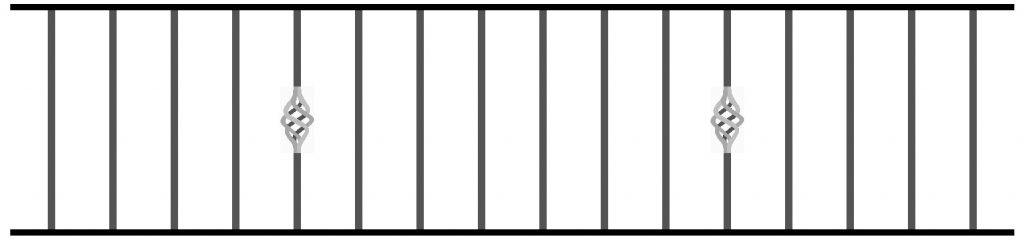
You are still in effect working from the middle outwards, but you have a centre gap rather than a centre bar. So keep things looking symmetrical it is ideal to work from that point.
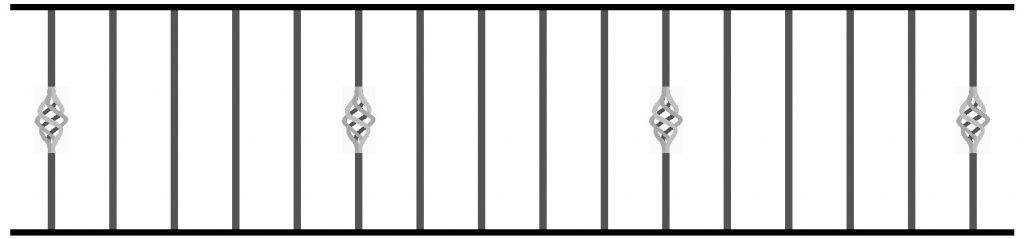
Because the bar count works nicely, it is possible here to have detail, then 4 plain bars followed by detail. but this would always depend on the number of bar in railing.
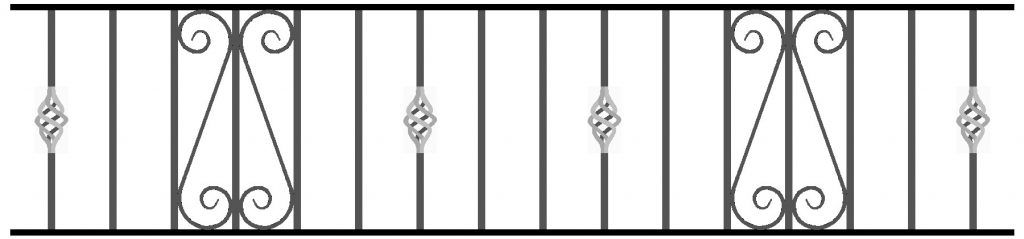
This pattern again works because of the bar numbers. on a smaller railing say 1600mm this wouldn’t really work, as the end two bars would be missing. Adjusting the baskets 1 space closer to the scrolls would allow the whole pattern to fit.
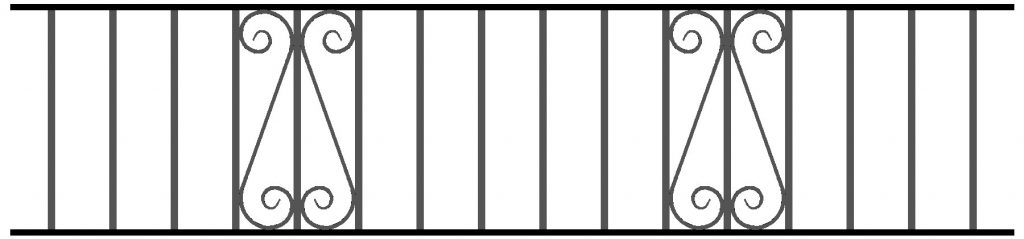
A simple pattern like this is not so dependant on bar count.
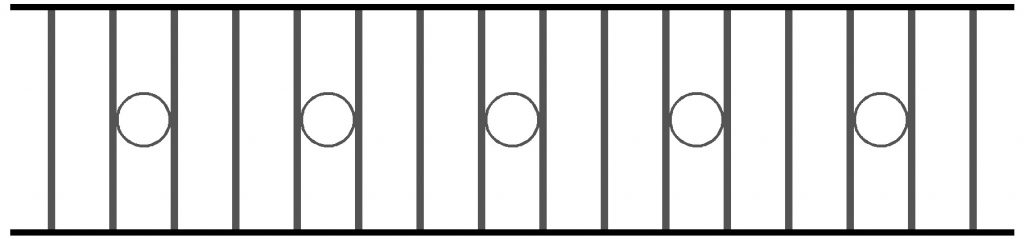
When using gap fillers such as a circle, a center gap naturally forms in the design. This approach works very effectively in situations where there is no center bar present, and only the center gap exists. The absence of a center bar allows the gap filler to create a clean and distinct space in the middle, enhancing the overall visual appeal.
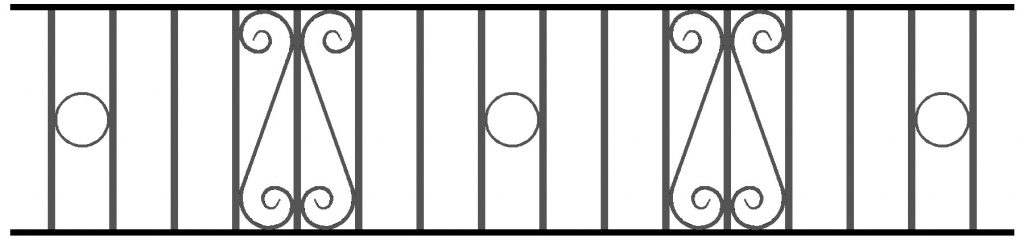
Centre fillers and scrolls.
Using Infill
If you have read through the other pages, you will have noticed that parts can be place in between bars. This is where 100mm spacings really works in your favour. Because of the access to cheap per-made parts. £20 worth of parts bought in can go quite along way. Of course they have to be welded in place, so you have the additional cost of labour to weld in.
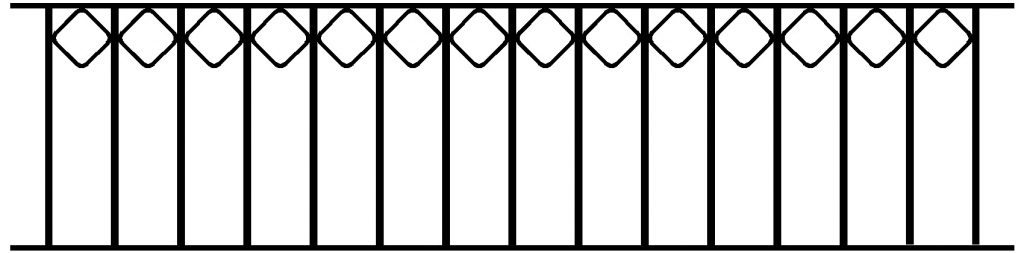
This is diamonds but it could easy be circles. At the top it becomes possible to use parts to fill a gap between bars. The restriction being is that you can’t go to the end. it has to be as drawn. Attempting to cut part of a circle or detail in, will foul with the wall fixings.
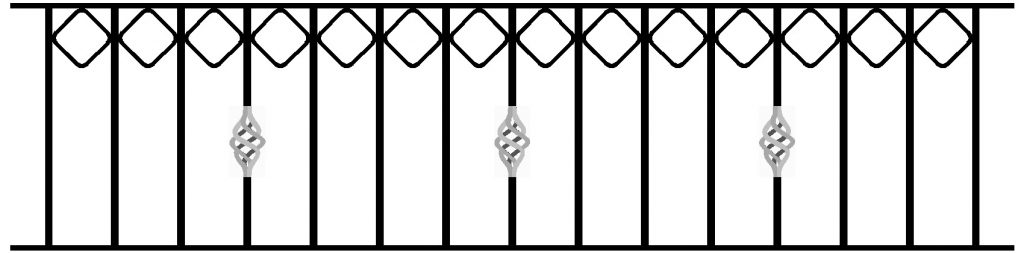
It is possible to use infill and create a pattern in the vertical uprights. Bear in mind that top detail takes 100mm out of your available space. Of course now to make your cages look centred within the bar they are now welded in off centre.
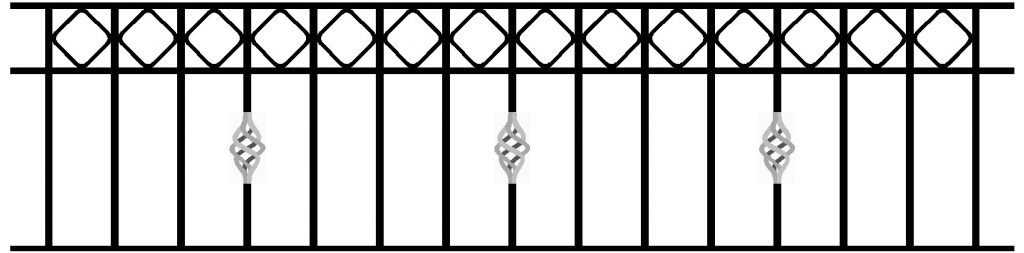
There is no reason why the top detail is not contained within an extra horizontal bar. This was the tradition way of doing it. The previous version was a cost saving way of getting a similar result, without the need to use extra material and weld in an extra bar.
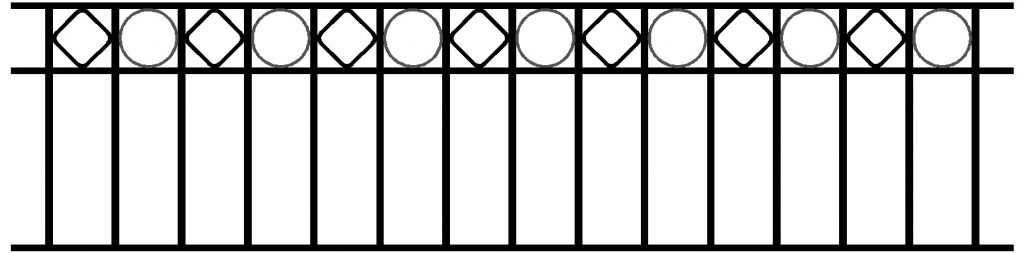
Perhaps pointing out the obvious here. There is no reason why you can not use an alternating pattern, as an infill between gaps. Or that infill could be at the bottom rather than the top, or even through the centre of the rail.
Conclusion
I only used a minimal number of parts to create these examples. With so many parts and possible decorative bar designs, it becomes apparent that there are thousands of possible designs, if not millions of possible designs. With all the different types of railing head designs that adds even more possibilities.
Perhaps now you understand why most companies offer only a few designs. when you get this deep into designs, we are talking maybe 10 million plus possible designs. At 30 mins a railing design to draw out, that is 380 years of work. assuming you work 24hrs a day 365 days a year.
The principal applies to gates and railings, but without knowing the number of uprights. It will be difficult to form a design. This will obviously vary depending on the length of the panel.